Atul Gawande’s book The Checklist Manifesto talks about the power of checklists. Gawande discusses the use of checklists to reduce failures caused when we do things without making use of the things we know. The point being, that in an increasing complex world, mistakes are inevitable but the risk of mistakes can be reduced by using checklists.
Every workplace, both digital and non-digital can benefit from checklists to help ensure people are following the agreed process for frequent and infrequent tasks. Everything from apply for leave, through to landing an airliner in an emergency or carrying out surgery will benefit from checklists. No more winging it!
If you have Office 365, you have a great set of tools for building digital checklists without code. In this blog, we will discuss how to build a simple checklist solution using:
- SharePoint: create lists with various fields to store and track information
- PowerApps: build forms based apps for web and mobile users
- Flow: build workflows and integrate various Office 365 tools
Example:
The best way to demonstrate the capabilities of these tools is to use an example. Consider a contractor on-boarding process. When a new contractor is registered to work onsite, they are added into Dynamics CRM and tagged as a contractor, someone checks they have the relevant certifications, a health and safety form is sent to the contractor and once a signed copy is received the contractor is authorised to be onsite and an ID card is issued.
Step 1: Planning and Design
Find a whiteboard and draw an outline of the system you want to build. Use the following checklist to capture the details needed to build the system:
- The information you want to capture on the form
- Details of any reporting requirements (check that you capture the information needed)
- Workflow steps
- Who can use the system
- Any special permissions or security around the data
Step 2: Create a list
The SharePoint list will hold the information captured when the checklist is created
In SharePoint Online, create a new list (Modern lists are needed for Flow and PowerApps) and add columns to capture the values you want to track.

In addition to Yes/No checkboxes, you can add choice lists, text, number and date columns. There are currently some limitations with PowerApps when using some types of fields such as People fields and Manage Metadata.
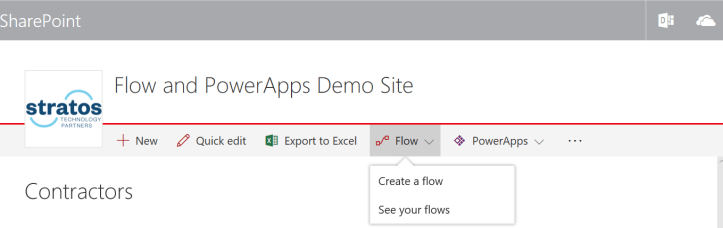
Step 3: Create a Flow
Flows can be initiated when an item is added or updated in a SharePoint list.
Flows can also be started when something happens in another system that supports Flow e.g. When a new contact is added in Dynamics 365 (CRM), create a new item in the Checklist (SharePoint list) and notify customer support.

Step 4: Build a form with PowerApps
PowerApps can be built from a SharePoint lists allowing users to view and update list items from mobile devices or web browser.
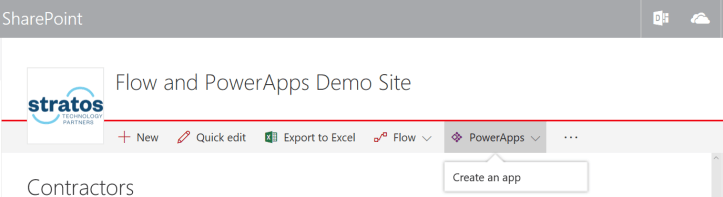
From the list created in step 2, choose “PowerApps” and create PowerApp. Office 365 will automatically create a PowerApp using the list columns with Search, View and Edit forms. The PowerApp can be accessed either in the browser or using the PowerApps mobile App (iOS or Android).

Inspiration
SharePoint list based systems are quick and easy to build, making them very popular for all sorts of uses. If you’re looking for a bit of inspiration, I can recommend reading The Checklist Manifesto. http://atulgawande.com/book/the-checklist-manifesto/
Discover more from SharePoint Moments
Subscribe to get the latest posts sent to your email.
